Thursday, May 19, 2011

Bacon & Eggs

Quilts # 31 – 32 - 33


These were fun to make little quilts!

Monochromatic  -  Complimentary  -  Analogous

Challenge – I wanted to make 3 quilt pages using the same simple design in in three different colour schemes, changing up some of the embellishments and stitching and/or quilting for interest.

Monochromatic Colour Scheme
Quilt # 31

Bacon and Eggs 1 - Monochromatic (One hue, including its tints and shades)

Techniques - Using Green
Cut and sprayed the “plate” with 505 Temporary Adhesive, used a small zigzag stitch over a straight stitch around the edge.
Embroidered a machine design to decorate the plate. Folded “bacon” fabric back and forth and zigzagged in to obtain crinkled fried bacon look.
Monochromatic - back
Cut “egg whites” and burned the edges and stitched just inside the burned area with invisible thread. Bright green egg yolks completed the top.

Quilting – Invisible thread outlined the plate and food, stitched a line about an inch inside the edge of the plate for dimension.
Quilted background in off centre grid using 2 different greens.

Edges – Couched wool around edge for binding.

Back  - “Background” fabric.

Date Made – January 20, 2007


Complimentary Colour Scheme
Quilt #32

Bacon and Eggs 2 – Complimentary (any pair of hues which are opposite one another on the colour wheel)

Techniques - Using Orange and Blue
Edge of “plate” was left raw edged and stitched with a straight stitch and a decorative design was added.
The bacon was made as in #1.
Used orange tulle for the “fried edges and overlayed organza over the egg white printed fabric.
The blue egg yolk were zigzagged in place.
Complimentary- back

Quilting – Outline quilted the design and stitched on both sides of embroidered decorative plate design. The background was quilted with a curvy stitch from my machine, all quilting done with invisible thread.

Edges – Zigzagged edges with a peach thread.

Back - “Egg white” fabric.

Date Made – January 27, 2007


Analogous Colour Scheme


Quilt #33

Bacon and Eggs 3 - Analogous 
(Hues that are adjacent or next to each 
other on the colour wheel)

Techniques - Using Violet, Purple, Blue, Blue green and Yellow green, varying the values for contrast.
Zigzagged edges of plate and added a stitched decorative stitch.
The “bacon” fabric already had a crinkly look so just zigzagged the edges on it and the egg yolk and egg white using a purple thread. The egg white fabric is a light yellow green hand dyed and the yolk has a blue green checked printed fabric.
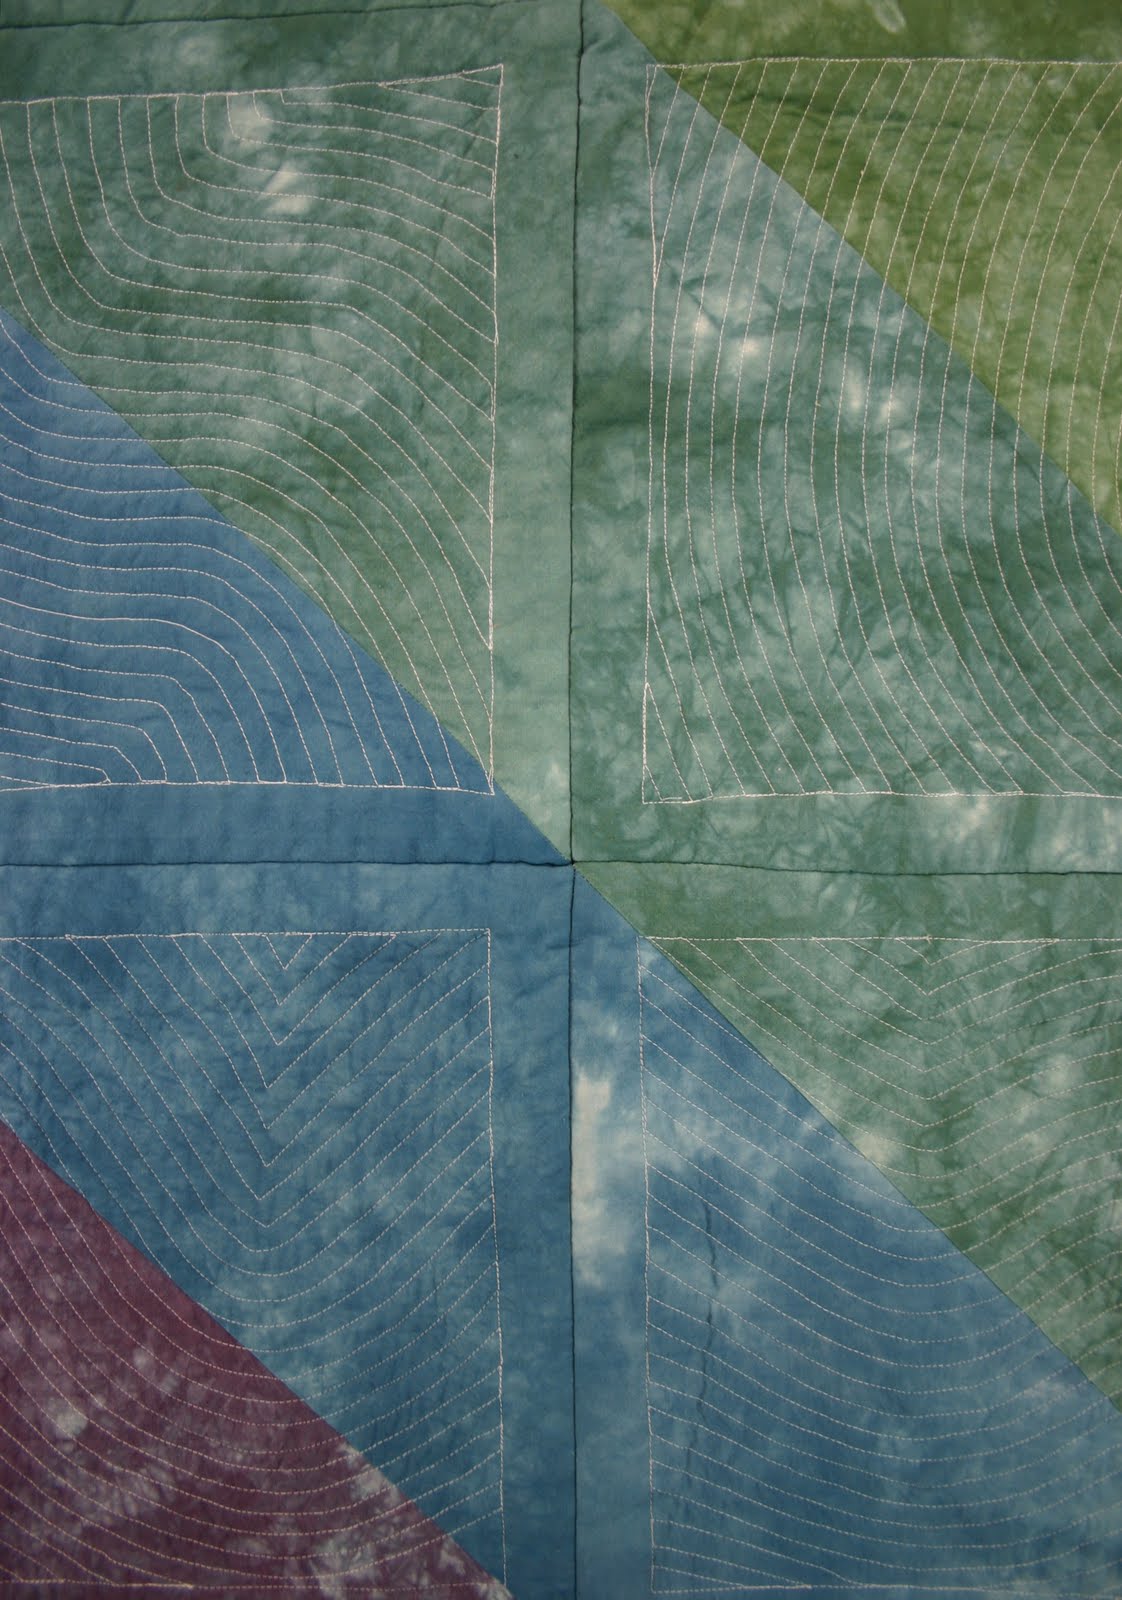
Analogous - back

Quilting – All the quilting was done using a variegated rayon thread. The design was outline quilted, free motion loopy loops lines on the background, stippling in the centre of the plate and wavy lines on the bacon.

Edges – Finished with a decorative stitch.

Back - “Plate” fabric. 

Date Made – February 3, 2007


Conclusions – These were fun to make and choosing fabric following a “plan” eases the process of understanding how colour schemes work.

Maker – Terry Whyte


Have a great day!

Terry

Thursday, May 12, 2011

Under the Rainbow

Quilt #30

Under the Rainbow - 72" x 72"

Way back in April, 1997, I won thirty-four - 10” Pinetree blocks in a Block of the Month raffle at our guild. I made the two extra blocks for a 6 x 6 setting.

10" Pinetree Block
The blocks sat on the shelf for many years before inspiration came. I was reading a quilting magazine when I came across a picture of a quilt by Georgia Bonesteel.

After seeing the picture, it inspired me to try my hand at designing something similar using my pinetree blocks.  Georgia's quilt was hand quilted, mine is machine quilted and I'm not sure if I used any of her techniques but it certainly was very different from any quilt I had made.

This was my process.

I made a template with curved edges that would be turned over to the front of the quilt.

detail
Muslin or cotton strips were added to the edge of the blocks to make them the size of my template. I tried to match the background fabrics that were used in each individual block, even though only small portions of it would show in the end.

detail
The blocks were sandwiched individually, cut into the shape of my curved template, and stitched and turned using the pillowcase method. I then stitched-in-the-ditch around each block, added a curved line from one edge to another and filled the whole block echo quilting that line.

edge of quilt

The blocks were sewn together and the curved edges were turned down and hand stitched in place.

back of quilt

I dyed muslin in twelve rainbow colours. Large squares were cut diagonally into triangles, separated and stitched to it's next door neighbour on the colour wheel.

detail - back of quilt

Each block was backed by one of these large half-square triangles, with the colours visible on the front framing the blocks.

I worked on this quilt, off and on, several times before finally completing it in 2008.
You can see where I even had to change the date from 2007 to 2008.  Not a very neat label but, at least, it is labeled.

label


This was my inspiration:

A quick search online just confirmed that the quilt I saw in a magazine article is actually on the cover of Georgia Bonesteel's book Lap Quilting Lives!


Documentation:

Quilt Name: Under the Rainbow

Description: 6 x 6 setting of pinetree blocks framed by rainbow coloured curved frames

Pattern: 10" Pinetree Block

Size: 72” x 72”

Fabrics: 100% cotton, muslin and hand-dyed muslin

Predominant colours: Blocks – green, white backgrounds. Red, purple, blue, green, orange, yellow.

Construction Techniques: Individual 10” blocks sandwiched, stitched pillowcase method, quilted and then stitched together. Edges were turned over and hand stitched down to form a frame around each block.

Back: hand-dyed muslin in rainbow colours set diagonally

Batting: Polyester

Edge finish: Back turned to front

Quilting:  Machine echo quilted

Quilted by: Terry Whyte

Sleeve: No

Label: Yes

Date completed: 2008

Inspiration: Georgia Bonesteel

Quilt History: Displayed in 2009 Kirkland Lake Mile of Gold Quilters Guild Annual show and at Quilt Day 5 – Englehart in 2009.

Maker: Terry Whyte

Tuesday, May 10, 2011

Leaves

Leaves

Quilt #29


Challenge: 

Another journal page experimenting with bleach to discharge.

Techniques:  I used a Q-Tip dipped in bleach/water mix to draw a branch directly on fabric.

The leaves were stamped at the tips using a leaf stamp dipped in bleach, blotting the edges of the stamp before stamping to avoid edge marks. 

Rinsed and dried the fabric.

Added ribbon and zigzagged the branch.

Make the quilt sandwich and free motion quilted around the branch and leaves, stitching in more branches and leaves to the background.


sample


At this point, I decided that the leaves were not discharged enough, I really liked the looks of my sample, so added more bleach to the leaves and also slightly discharged the quilted background design using the Q-Tip. 

Rinsed the whole quilt and dried.


back of quilt


Ribbon was added to the edges of the quilt and zigzagged in place.


Conclusion: 

Discharge can be done at any stage, before or after quilting although there was a slight bit of discharge that seeped through to the back.

The trick is to leave the bleach on just the right length of time.  It's a guessing game!


Have a great day!

Terry

Friday, May 6, 2011

Buttons and Things- Discharge

Quilt #28
Buttons and Things

A New Year's resolution - 2007.


At the beginning of January, 2007, I decided that I would try to make one journal quilt a week to experiment with different techniques on a small scale.  I had made a few journal pages (see previous posts) and really enjoyed the process but hadn't made any since September, 2006.
 
I had fallen on some ice and broke my wrist on December 2nd, 2006, my arm was still in a cast, but I needed to do something “quilty”. It could not be too complicated as cutting was a challenge, but I could use the sewing machine.


Samples

For this quilt page, I opted to experiment with discharging (removing colour from the fabric). I chose bleach (Javex) and a dishwashing gel (Cascade) as a discharge medium.


I chose some blacks as well as couple of coloured fabrics and found that some discharged better than others and some do not discharge at all. 

 Also, although most fabric discharged to a brown and/or beige, a few provided surprises discharging to other colours.


detail

I added a bit of water to the bleach so it wouldn't eat through the fabric, but used the dishwashing gel as is.

I found that the bleach gave nice crisp straight edges and more even colour while the dishwashing gel, being thicker had softer, more mottled and uneven edges.

I made a couple of square stamps from a sweet potato, and using the bleach, stamped a grid on a black and dark blue print that had discharged nicely. When I thought there was enough dye removed, I rinsed in clear water and dried.

I added some embellishments to the squares, clothes labels, small bright scraps of fabric and yarn. A rummage through my Mom's button tin produced some old worn metal buttons and odds and ends like a little buckle, a snap and a zipper tab and a dismantled earning part.


Back - this is the original fabric that was discharged on the front


A simple grid of metallic copper thread between the squares and a buttonhole stitch for the binding completed the quilt.


NOTE: I have discharged more fabric since and have used vinegar or a product like Bleach Out to neutralize the bleach.


Made on January 6, 2007.


I think spring has finally arrived in Kenogami, we still have ice on the lake and patches of snow here and there.  I'm really ready for summer, it has been a long winter.

Off to work in the garden,

Have a nice day,

Terry

Wednesday, May 4, 2011

Dyeing to Play 3 – Birdhouse

Quilt #27

Birdhouse
One of the customs of our quilting guild is for our president to issue the members a challenge before the end of her 2 years term.

Birdhouse was made in response to Helen's Crayola Challenge in the fall of 2007, which entailed picking three crayons from a bag. The three colours chosen had to be used in a small quilt and one more colour could be added.

My colours were brown, green and orange, I added yellow (gold) as my fourth colour.

I also decided to only use my Dyeing to Play fabrics as a further challenge to myself.

I appliqued the birdhouse onto the brown background and then stitched in the lines for the bricks. The “mortar” and shadow details were coloured with a marker. The light spots on the bricks and the roof were discharged with bleach.

3-D Leaves

Some of the leaves were appliqued while the 3-dimensional ones were made by fusing two layers of fabric together and stitching in the veins. They were then applied to the quilt by sewing through the centre line of each leaf.

Birdhouse won the Guild Crayola Challenge in October, 2007 and was displayed in the Kirkland Lake Mile of Gold Quilter's Guild 2008 annual show.

back of quilt

This quilt measures 13 ¼” x 17 ¾”.


Have a great day,


Terry